
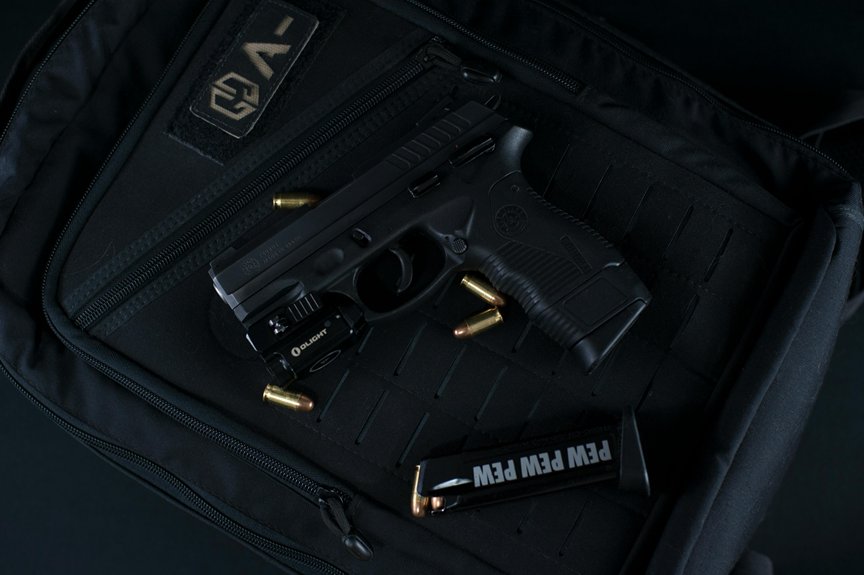
Disassembling a Glock is a crucial skill for proper maintenance and inspection. To start, you’ll need to gather essential tools and ensure your firearm is unloaded. Following a methodical approach helps prevent accidents and ensures all components function effectively. Each step is important, from removing the magazine to inspecting the barrel. Understanding this process not only enhances safety but also improves your firearm’s performance. Let’s explore the details of each step to ensure you do it correctly.
Gather Your Tools and Safety Gear
Before you begin disassembling your Glock, it’s essential to gather the necessary tools and safety gear. You’ll need a reliable punch tool or Glock disassembly tool to push out pins without damaging the frame. A small flathead screwdriver can also be handy for removing stubborn parts.
Ensure you have a clean, flat workspace to avoid losing any components during disassembly.
In terms of safety gear, safety glasses are crucial to protect your eyes from any accidental spring releases. Additionally, consider using gloves to maintain grip and protect your hands from any potential sharp edges.
Having a well-organized container for small parts will help you keep track of everything as you work through the disassembly process.
Ensure the Glock Is Unloaded
To ensure your Glock is safe to disassemble, you must verify it’s completely unloaded.
Begin by pointing the muzzle in a safe direction. Press the magazine release button to remove the magazine from the grip.
After removing the magazine, pull the slide back slightly and visually inspect the chamber to confirm there’s no round present.
It’s crucial to also check the magazine well to ensure no rounds are lodged there. If you have a loaded magazine nearby, place it away from your workspace to avoid confusion.
Always remember, treating every firearm as if it’s loaded reinforces safety.
Once you’ve confirmed the Glock is unloaded, you can proceed confidently with the disassembly process. Safety is your top priority.
Remove the Magazine
Removing the magazine is a crucial step in disassembling your Glock. First, ensure the firearm is pointed in a safe direction.
Locate the magazine release button, typically situated on the left side of the grip. Firmly press the button with your thumb while simultaneously pulling the magazine free with your other hand.
It’s important to maintain control of the magazine to prevent it from dropping. Once removed, visually and physically check the magazine to confirm it’s empty.
Store it safely away from the firearm. Remember, handling the magazine correctly helps maintain safety throughout the disassembly process.
After this step, you’ll be ready to proceed with the next part of disassembling your Glock efficiently and safely.
Pull the Slide Back
After ensuring the Glock is unloaded and safe, you need to pull the slide back to begin the disassembly process.
Grip the frame with your non-dominant hand, keeping your fingers away from the trigger. With your dominant hand, grasp the rear of the slide and pull it rearward firmly.
Ensure that you pull it all the way back until you feel resistance. This motion compresses the recoil spring and allows access to the internal components.
Maintain control of the slide while pulling it back to prevent any accidental release.
Once you’ve pulled the slide back sufficiently, you’ll be ready to proceed with the next steps in disassembling your Glock safely and effectively.
Disengage the Slide Lock
With the slide pulled back, you’re ready to disengage the slide lock.
Locate the slide lock lever on the left side of the frame, just above the trigger. Using your thumb, press down on the lever while maintaining the slide’s rearward position. This action releases the slide lock from its engaged state.
It’s crucial to ensure that you apply enough pressure to fully disengage the lock without losing your grip on the slide. Once the slide lock is disengaged, you can prepare for the next step in the disassembly process.
Always remember to maintain control of the slide, preventing it from moving forward unexpectedly. This precision is essential to ensure a safe disassembly experience.
Remove the Slide
Carefully pull the slide forward off the frame. Make sure you maintain a firm grip on the frame while doing this.
As you pull, keep an eye on the alignment of the slide and frame; they should separate smoothly without obstruction. If you encounter resistance, double-check that the slide lock was fully disengaged in the previous step.
Once the slide is free, gently lift it away from the frame. Avoid using excessive force, as this may damage internal components.
Ensure that you’re working in a clean environment to prevent dirt or debris from entering the firearm.
With the slide removed, you’re ready to proceed to the next steps in the disassembly process.
Take Out the Recoil Spring and Barrel
Once the slide is removed, you can proceed to take out the recoil spring and barrel.
Start by locating the recoil spring assembly, which sits above the barrel. Gently lift the rear of the recoil spring and pull it out of its position. Be cautious, as it can spring away if not controlled.
Next, you’ll need to remove the barrel. With the recoil spring out, tilt the barrel slightly upward to disengage it from the slide. Pull the barrel straight out of the slide, ensuring you don’t force it.
At this point, both the recoil spring and barrel are successfully removed, allowing you to continue with the disassembly process.
Clean and Inspect Components
After removing the recoil spring and barrel, it’s important to clean and inspect each component for wear and residue.
Start with the barrel; use a cleaning rod and appropriate brush to remove carbon buildup. Inspect the inside for pitting or rust, which could affect performance.
Next, clean the recoil spring with a cloth, checking for any signs of deformation or fatigue.
Examine the slide for scratches or cracks, paying special attention to the rails where it contacts the frame.
Ensure the frame is free from dirt or debris.
Finally, wipe down all components with a quality gun lubricant to maintain functionality.
This thorough inspection helps ensure your Glock operates reliably and safely.
Reassemble the Glock
Reassembling your Glock is a straightforward process that requires attention to detail.
Begin by inserting the trigger mechanism housing into the frame. Ensure it clicks into place securely.
Next, position the slide on the frame, aligning the rails. Gently push the slide back until it locks into position.
Reinstall the recoil spring and guide rod by placing the spring into the slide and compressing it until it sits snugly.
Finally, check the function of the slide lock and trigger. Make sure everything operates smoothly.
Perform a safety check before handling the firearm. Your Glock should now be fully reassembled and ready for use.
Always remember to follow safety protocols throughout the process.
Conclusion
Disassembling your Glock is a straightforward process that ensures optimal performance and safety. By following these steps carefully, you can clean and inspect each component effectively. Always prioritize safety by confirming the firearm is unloaded before beginning. With practice, reassembling your Glock will become second nature, allowing you to maintain your firearm properly. Regular maintenance not only enhances reliability but also extends the life of your Glock, ensuring it’s ready for any situation.